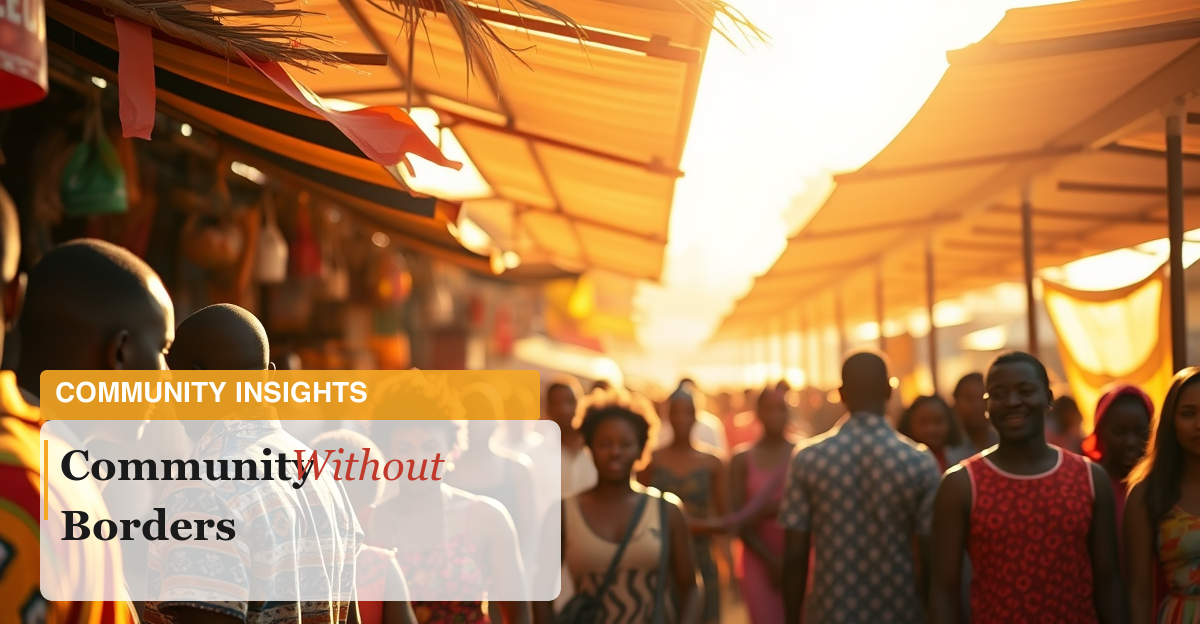
Every blog post needs a featured image. Sounds simple until you are publishing multiple articles a day and every image needs to look unique, professional, and match the article’s tone. I went through four different approaches before landing on something that actually works – and the journey involved broken AI models, blank images, overlapping text, and a lot of trial and error. Here is the full story of how I built an image generation pipeline controlled entirely by Claude Code.
The Problem: Every Post Needs a Unique Image
Publishing a single article properly means writing the content, formatting it in WordPress blocks, generating a featured image, uploading it, writing SEO title and description, picking a focus keyword, creating tags, assigning categories, adding internal links, running quality checks, and finally hitting publish. The featured image alone involves choosing a style, generating or finding a visual, adding the article title as text overlay, making sure it looks good at different sizes, and uploading it to WordPress.
When you are publishing multiple articles a day, doing this manually becomes the bottleneck. Stock photos feel generic. Canva is manual work every time. I wanted a system where I could say “generate a featured image for this article” and get something unique, professional, and on-brand – automatically.
Phase 1: ImageMagick Alone – Text on Color
The first approach was the simplest. I used ImageMagick – a command-line image tool that has been around for decades – to generate featured images. The concept was basic: take a solid color or gradient background, overlay the article title in a nice font, and save it as a PNG.
It worked. Technically. But the results looked like someone made a PowerPoint slide in 2008. Flat colors, centered text, no visual interest. Every featured image on the blog looked like a slightly different colored rectangle with words on it. The blog feed looked monotonous and unprofessional.
Setting Up ImageMagick
The setup was the easiest part of this whole journey. On Mac, it is two commands:
brew install imagemagick librsvg
magick -version
I also needed librsvg because Homebrew’s ImageMagick build does not include Freetype (the font rendering library) by default. So the workaround was to generate text layouts as SVG files, then convert them to PNG using rsvg-convert, and finally composite them onto the background with ImageMagick. It sounds complicated, but it works reliably.
I built a few color schemes – WordPress blue, developer dark, business warm, creative purple – and added some basic patterns. Seven presets in total. You could generate an image with a single command by passing a title and color scheme.
It was better than no featured image, but it was clearly not good enough for a professional blog. I needed real visual variety.
Phase 2: Stable Diffusion – AI Images That Went Blank
The obvious next step was AI image generation. I installed Stable Diffusion WebUI (the popular A1111 fork) locally on my Mac. Downloaded the DreamShaper 8 model. Set up API mode so Claude could generate images through the MCP server with a single command.
The first few images were amazing. Rich, detailed backgrounds that looked nothing like stock photos. I was thrilled. I built style presets into the system – tech, business, minimal, photorealistic, landscape, gradient, abstract, code-viz, illustration, digital-art. Ten styles with rules to alternate between warm and cool tones, light and dark backgrounds, and content-type-specific defaults.
Setting Up Stable Diffusion WebUI
The setup process was significantly more involved than ImageMagick:
# Install Python 3.10 (required by SD WebUI)
brew install python@3.10

# Clone the Forge variant of SD WebUI
git clone https://github.com/lllyasviel/stable-diffusion-webui-forge.git ~/stable-diffusion-webui
cd ~/stable-diffusion-webui
mkdir -p models/Stable-diffusion outputs/wp-blog

# Download DreamShaper 8 model (~2GB)
curl -L -o models/Stable-diffusion/dreamshaper_8.safetensors \
  "https://civitai.com/api/download/models/128713"

# Start with API mode enabled
python_cmd=/opt/homebrew/bin/python3.10 ./webui.sh --api
Once running, the WebUI served an API on localhost:7860. I built SD actions into the MCP server so Claude could generate images directly:
# Generate a featured image through the MCP
wp_blog_run({
  action: "sd_featured",
  params: {
    prompt: "warm atmospheric workspace",
    style: "business",
    set_as_featured: 12345
  }
})

# Quote banner with AI background
wp_blog_run({
  action: "sd_quote_banner",
  params: {
    quote: "Your work speaks louder than any group.",
    author: "Author Name",
    bg_style: "elegant-dark",
    randomize: true
  }
})
The MCP server had ten style presets, six quote background styles, and even a stat banner generator for data visualizations. It was a comprehensive system – on paper.
Then one day, every image came out blank. Pure white. Nothing.
The problem was fundamental: Stable Diffusion’s float16 precision mode does not work properly on Apple Silicon without an NVIDIA GPU. My MacBook Pro M3 Pro uses Metal Performance Shaders instead of CUDA, and something in the A1111 pipeline was silently failing. The model would load, the generation would “complete,” but the output was empty.
I tried everything. Different models. Different samplers. Different precision settings. Force-enabling MPS. Downgrading PyTorch. Nothing fixed it reliably. Some days it worked, most days it did not. For a production content pipeline, “sometimes works” is the same as “does not work.”
Phase 3: Stable Diffusion Plus ImageMagick – When It Worked
Before SD broke completely, I had already started combining it with ImageMagick. The idea was solid: use Stable Diffusion for the background image (the visual texture, colors, mood), then use ImageMagick to overlay text on top (the article title and subtitle).
I even built quote banner generation into the MCP server – you could pass a quote and author name, and the system would generate an SD background, then overlay the quote text in a styled layout with author attribution. There were six background styles: elegant-dark, colorful, tech, nature, minimal, and gradient.
This combo approach was the right architecture. AI for visual interest, ImageMagick for reliable text rendering. The problem was that the AI part – Stable Diffusion on my Mac – was the weak link. When SD worked, the results were great. When it did not, the whole pipeline stalled.
I needed a different AI model that was built for Apple Silicon from the ground up.
Phase 4: ComfyUI Plus Flux – What Actually Works
I replaced the entire image generation stack. Instead of Stable Diffusion WebUI, I switched to ComfyUI – a node-based interface that is more technical but far more reliable on Mac. And instead of DreamShaper, I moved to Flux Schnell – a newer model from Black Forest Labs that runs natively on Apple Silicon.
The key was using a quantized version of Flux (Q5_K_S GGUF format) that fits within the 36GB unified memory of my M3 Pro MacBook. ComfyUI handles the model loading and inference, and I built a Python script that talks to ComfyUI’s API to generate images programmatically.
Setting Up ComfyUI and Flux
# Clone ComfyUI
git clone https://github.com/comfyanonymous/ComfyUI.git ~/ComfyUI
cd ~/ComfyUI

# Create virtual environment
python3 -m venv venv
source venv/bin/activate

# Install dependencies (PyTorch nightly for best MPS support)
pip install torch torchvision torchaudio --index-url https://download.pytorch.org/whl/nightly/cpu
pip install -r requirements.txt

# Download Flux Schnell GGUF model (~4.5GB quantized)
# Place in ~/ComfyUI/models/unet/
# The Q5_K_S quantization keeps quality high while fitting in 36GB RAM

# Start ComfyUI
python main.py --listen 127.0.0.1 --port 8188 --force-fp16
I also created a workflow JSON file (flux-featured-image-api.json) that defines the exact generation pipeline – text encoder, empty latent image, sampler settings, and save node. The Python script loads this workflow, injects the prompt and dimensions, submits it to ComfyUI’s API, and polls until the image is ready.
# Generate a background image
python3 ~/ComfyUI/generate-featured-image.py \
  "warm atmospheric gradient, soft pastel tones, no text" \
  -o /tmp/background.png \
  --width 1200 --height 630
ComfyUI runs as a local server on port 8188. The script sends it a prompt and dimensions, waits for the image, downloads it, and saves it to disk. Four inference steps, Euler sampler, 1200×630 pixels – and I get a unique background image in about 15-20 seconds. Reliably. Every time.
But I had learned from Phase 3 that a plain AI background is not a featured image. It needs text – the article title, maybe a subtitle. And the text needs to look professional, not slapped on. That is where I took the ImageMagick overlay concept from Phase 3 and rebuilt it properly – with a full template system.
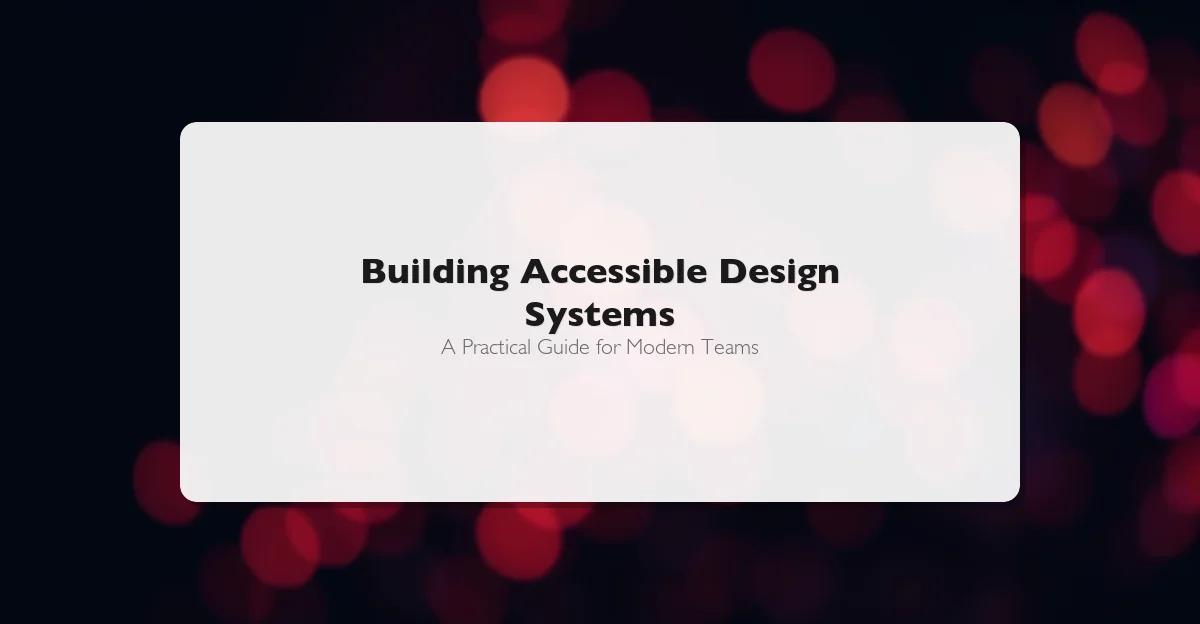
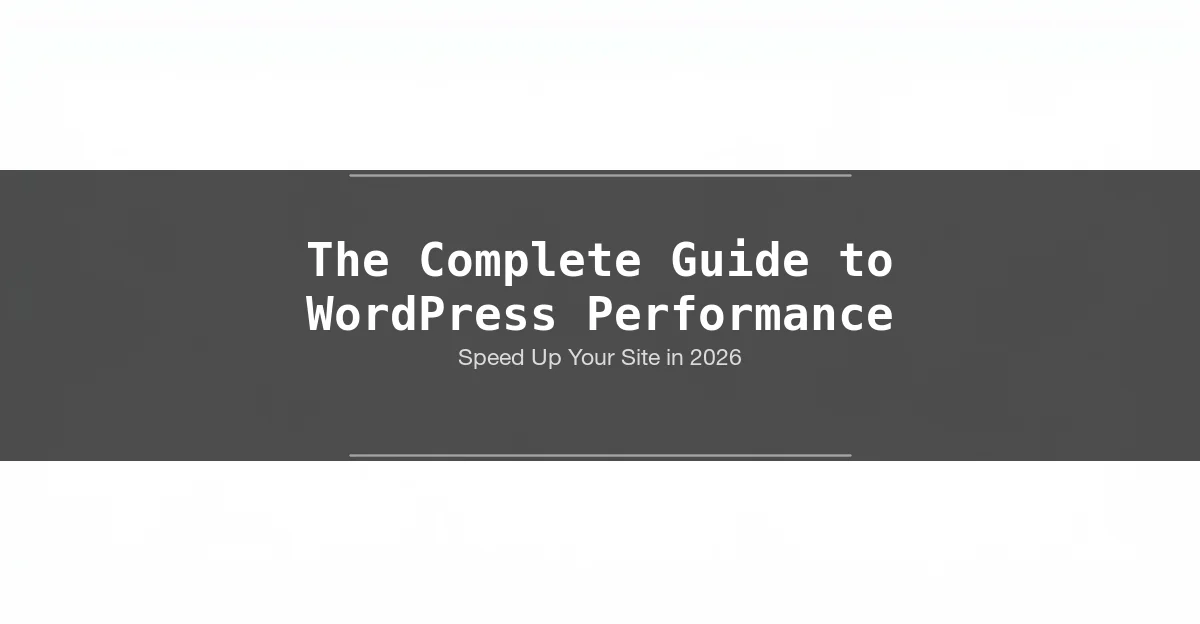
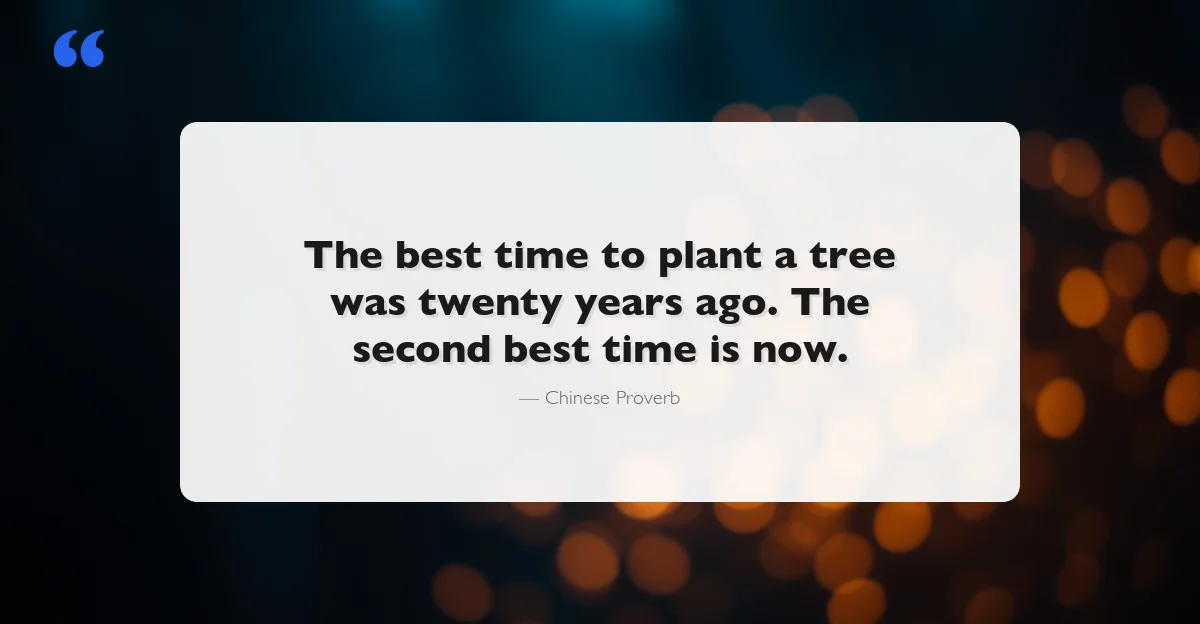
The Template System: 10 Designs, Zero Repetition
The earlier phases taught me that just slapping text on an image looks bad. I needed what Canva gives designers – distinct templates with professional layouts. So I built a Python script called create-banner.py that chains Flux and ImageMagick together, but with a template engine in between that controls exactly how the text gets placed.
The script has ten distinct templates, each with its own layout, font pairing, and overlay style. Here is what they look like:
| Template | Style | Best For |
|---|---|---|
| Modern Minimal | Clean centered text, no overlay | Technical articles |
| Editorial Classic | Left-aligned with accent line | Opinion pieces |
| Tech Terminal | Monospace font, dark panel | Developer content |
| Bold Banner | Large condensed title, horizontal band | Guides and pillar content |
| Magazine Split | Solid color panel on left | Business comparisons |
| Bottom Bar | Gradient fade from bottom | News and roundups |
| Floating Card | White rounded card on image | Tutorials |
| Corner Shield | Gradient in bottom-left corner | Thought leadership |
| Diagonal Stripe | Angled color band | Creative content |
| Typewriter | Paper texture overlay | Personal stories |
Here is what these templates actually look like when generated – each with a unique Flux AI background and different text layout:


Setting Up the Banner Pipeline
The banner pipeline is a single Python script plus a JSON config file:
# The files
~/ComfyUI/
  create-banner.py          # Main pipeline script
  banner-templates.json     # 10 template definitions + color profiles
  banner-history.json       # Auto-created rotation tracking

# Generate a featured image (auto-selects template by tone)
python3 ~/ComfyUI/create-banner.py \
  --title "Your Article Title" \
  --subtitle "Optional Subtitle" \
  --tone technical \
  -o /tmp/banner.png

# Generate a quote banner
python3 ~/ComfyUI/create-banner.py \
  --mode quote \
  --quote "Your work speaks louder than any group." \
  --author "Author Name" \
  --tone personal \
  -o /tmp/quote.png

# Force a specific template
python3 ~/ComfyUI/create-banner.py \
  --title "Title" --template floating-card -o /tmp/banner.png

# Skip Flux entirely (solid gradient fallback)
python3 ~/ComfyUI/create-banner.py \
  --title "Title" --tone technical --no-flux -o /tmp/banner.png
Each template has ten possible font pairings (Helvetica Neue, Georgia, Menlo, Futura, Gill Sans, Baskerville, Didot, American Typewriter, and more). The script picks a template based on the article’s tone – technical, personal, business, tutorial, creative, community, or news – and then checks a rotation history file to make sure it does not use the same template or font pair twice in a row.
You can also define color profiles – light schemes with pastel backgrounds, dark schemes with moody tones, warm schemes with cream and gold. The Flux prompts and text colors automatically adjust based on which profile the image is using. This means a technical article gets a different visual treatment than a personal story, without any manual work.
If ComfyUI is not running or Flux times out, the script falls back to a solid gradient background – still professional, still on-brand, just without the AI-generated texture.
Quote Banners for Inline Images
Beyond featured images, I also needed quote banners – those mid-article images that highlight a key quote or statistic. The same script handles this with a quote mode. You pass it a quote and author name, and it generates a banner with the quote text prominently displayed, proper attribution, and decorative quotation marks.
The auto-sizing logic adjusts font size based on quote length. Short quotes get large, impactful text. Long quotes get smaller text with automatic word wrapping. The author attribution is positioned dynamically based on how many lines the quote takes up.
Claude as the Orchestrator
Here is where it gets interesting. The image generation is just one piece. The entire content pipeline – from calendar planning to published article – is orchestrated by Claude Code running on my terminal.
I built a custom MCP (Model Context Protocol) server that connects Claude directly to my WordPress sites. Through this server, Claude can create posts, upload media, set featured images, configure SEO meta, manage tags and categories, run content audits, and publish – all without me opening a browser. This kind of AI-driven workflow is a natural extension of my journey from writing PHP in a college cybercafe to serving clients across four continents – each phase has been about finding smarter ways to do more with less.
The workflow looks like this:
- I check the content calendar through the MCP server – it shows me what articles are due
- I tell Claude to process them – sometimes one at a time, sometimes all at once
- Claude launches parallel agents – one per article – each with full context about the target site’s voice, style, and requirements
- Each agent writes the article in WordPress Gutenberg block format, generates a featured image using the banner pipeline, uploads everything, sets SEO meta, runs quality checks, and publishes or schedules the post
- I get a summary of what was done, with links to verify
Recently, I processed nine articles in a single batch. All nine ran in parallel. The whole batch – from “go” to “all published” – took about 15 minutes. That includes writing 27,000 words of content, generating nine featured images, configuring SEO for each post, and publishing everything.
The Technical Stack
For anyone curious about the actual tools involved, here is the full stack:
| Component | Tool | Purpose |
|---|---|---|
| AI Assistant | Claude Code (Opus) | Orchestration, content writing, decision making |
| WordPress API | Custom MCP Server (wp-blog) | Post CRUD, media, SEO, taxonomy, calendar |
| Image AI | ComfyUI + Flux Schnell | AI background generation |
| Text Overlay | ImageMagick | Template-based text compositing |
| Banner Pipeline | create-banner.py (Python) | Chains Flux + ImageMagick with 10 templates |
| SEO | RankMath (via REST API) | Meta titles, descriptions, focus keywords, schema |
| Content Quality | Built-in audit system | Word count, block format, heading structure, links |
| Memory | AutoMem MCP Server | Persistent memory across sessions |
| Hardware | MacBook Pro M3 Pro (36GB) | Runs everything locally |
Everything runs locally on my MacBook. No cloud GPU services. No API costs for image generation. The Flux model is quantized to fit in memory, and ComfyUI is optimized for Apple Silicon’s Metal Performance Shaders.
What Broke and What I Learned
Building this system was not smooth. Here are the real problems I hit:
Stable Diffusion was a dead end on Mac. I spent weeks trying to make A1111 WebUI work on Apple Silicon before accepting it was not going to happen reliably. The lesson: do not force a tool to work on hardware it was not designed for. Switch to something that was built for your environment.
WordPress strips block comments. My MCP server’s post_update action was stripping Gutenberg block markup (the HTML comments like <!– wp:heading –> that WordPress uses for formatting). Every time I updated a post, all the headings would disappear and paragraphs would merge into giant blocks. The fix was bypassing the MCP for content updates and using the WordPress REST API directly with the content.raw field.
Text overlapping on banners. The first version of the banner script had a text shadow at 3 pixels offset. On dark backgrounds, this created a visible “double text” effect instead of a subtle shadow. I reduced the shadow offset to 1 pixel, and the problem went away.
ComfyUI times out under load. When nine agents try to generate images simultaneously, ComfyUI can only process one at a time. The queue backs up, and some agents hit their timeout. The fallback – solid gradient backgrounds – keeps the pipeline moving even when the AI model is busy.
Em dashes look like AI writing. This was feedback from someone who read one of my posts. The em dash character – that long dash that Claude loves to use – is a dead giveaway that content was AI-assisted. I now explicitly strip all em dashes and use regular hyphens instead.
What a Typical Day Looks Like Now
I open my terminal. I ask Claude to check the content calendar. It shows me what is due today. I review the titles and say “wrap all of them.” Claude launches parallel agents – one per article. Each agent knows what tone to use, what SEO keywords to target, and what kind of featured image to generate.
While the agents work, I do other things – client calls, code reviews, actual development work. About 15 minutes later, I get a summary. Nine articles written, formatted, illustrated, SEO-optimized, and published. I spot-check a few, make minor tweaks if needed, and move on.
The articles are not perfect out of the box. Sometimes I rewrite a section to add a personal anecdote. Sometimes the featured image needs regeneration because the text overlaps. Sometimes the SEO title is too long. But the heavy lifting – the 80% that used to eat my entire morning – is handled.
The Numbers
Since building this pipeline, here is what a typical week looks like:
- 30-40 articles published per week
- 30-40 unique featured images created – no two looking the same
- Each image auto-matched to article tone with template rotation
- Fallback system means zero failed images even when the AI model is busy
- Total hands-on time for image work: near zero
Before this system, creating unique featured images for every article was a manual, time-consuming chore. Now it is fully automated with professional results.
What I Would Tell Someone Building Something Similar
Start with the integration, not the AI. The hardest part was not getting Claude to write articles or Flux to generate images. It was connecting everything together – WordPress API, file uploads, SEO plugins, content calendars, image pipelines. Get the plumbing right first.
Build fallbacks for everything. AI models time out. APIs fail. Images come out blank. Every step in the pipeline needs a fallback. Flux fails? Use a gradient. MCP strips formatting? Use the REST API directly. The system should degrade gracefully, not crash.
Keep a rotation system. Nothing looks worse than a blog where every featured image has the same style. The template rotation, font rotation, and color temperature alternation rules make each post visually distinct even though they are all generated by the same script.
Human review is not optional. I review every article before it goes live on important posts. The AI handles the production work, but the editorial judgement – what sounds authentic, what a reader actually needs, what feels too generic – that is still human work. The pipeline saves me time. It does not replace my judgement. Running an agency like Wbcom Designs through years of change has taught me that the human element is always the differentiator.
What is Next
The system keeps evolving. I am working on improving the quote banner templates, adding more font pairings, and experimenting with different Flux prompt strategies for different content types. I have also been exploring tools like the Image Annotator MCP for adding professional annotations to screenshots in documentation and tutorial posts. The goal is not to remove myself from the process but to spend my time on the parts that actually need a human – creative direction and quality judgement – while the machine handles the production.
If you are a content creator or business owner drowning in publishing tasks, the tools exist to build something like this. Claude Code, MCP servers, ComfyUI, ImageMagick, WordPress REST API – all of these are available today. The magic is not in any single tool. It is in how you connect them together into a workflow that matches how you actually work.
This article was written using the exact pipeline described above. The featured image was generated by Flux Schnell through ComfyUI, with text overlay applied by ImageMagick using the banner pipeline. The content was drafted by Claude, reviewed and edited by me, and published through the wp-blog MCP server. What you are reading is the system describing itself.