How to Turn Your WordPress Site Into a Social Network?

Do you love social media? Are you tired of being bombarded with ads from every corner of the internet?
It’s not enough to just create a website. You also need to make sure that your site is optimized for search engines, mobile devices, and social networks. In this article, we’ll cover how to do that using WordPress.
If you’ve never used WordPress before, then you might be wondering why you should bother learning how to use it. Well, here’s why…
You can use WordPress to build any type of website you want. And since it’s open source, you can customize it however you want. This means that you can easily add features such as social networking sites, forums, blogs, eCommerce stores, etc.
And because it’s free, you won’t have to spend thousands of dollars building a custom solution. Instead, you can simply download the WordPress software and get started.
In this tutorial, we’ll go over everything you need to know to turn your WordPress site into a social network. Once you understand how to optimize your WordPress site for search engines, mobile users, and social networks, then you’ll be able to attract new visitors and convert them into customers.
Step 1: Choose a social network plugin for WordPress
The first step in turning your WordPress site into a social network (Facebook or Twitter) clone is choosing a social network plugin. There are many different plugins available on the market today. Some of these plugins will allow you to integrate multiple social networks into one page, while others will only work with one specific network.
We recommend starting out by installing the BuddyPress plugin. It’s easy to install and has an intuitive interface. It comes with all the basic features required to run a social network website, i.e. with member profiles, activity streams, user groups, messaging, and more.
What is BuddyPress and why choose BuddyPress?
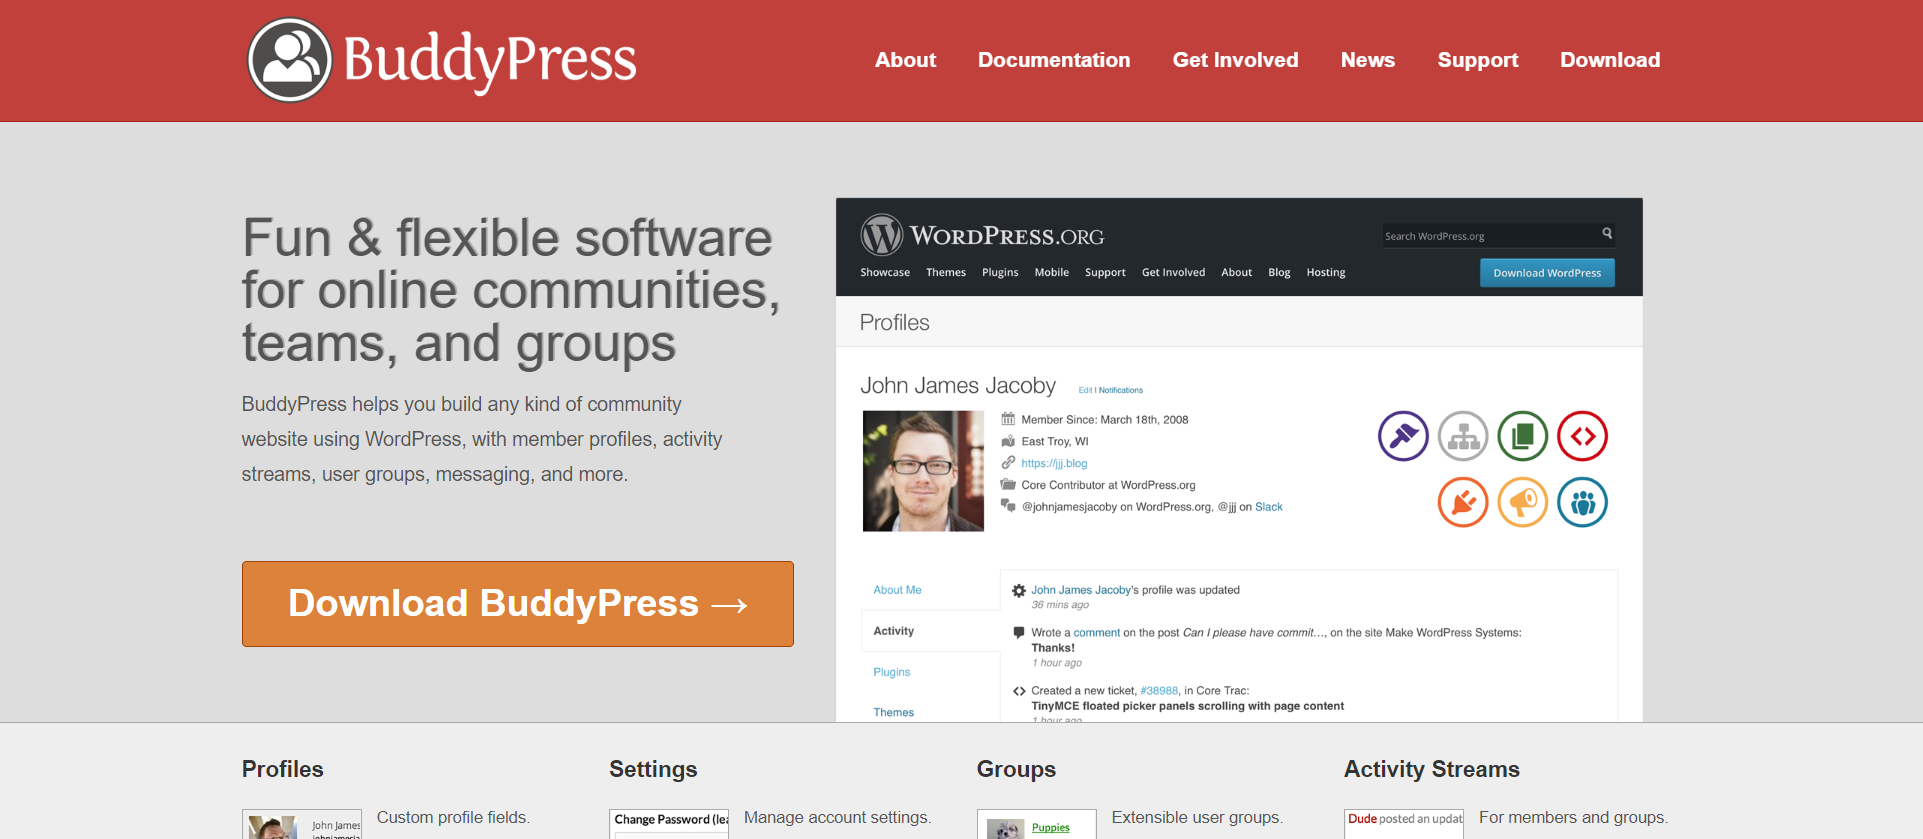
BuddyPress is a popular social network plugin for WordPress. It was created by Automattic (the company behind WordPress) and is currently maintained by the community. The main reason why people choose BuddyPress is that it offers a lot of functionality at no cost.
For example, if you’re looking to create a Facebook-style social network, then BuddyPress is probably the best choice. However, there are other reasons why you might want to use BuddyPress instead of some other plugin. Here are some of the advantages of using BuddyPress:
1. Easy to set up
2. Simple to use
3. Free
4. Extensive documentation
5. Support from the community
6. No coding skills are needed
7. Works with almost any theme
8. Has a large number of themes available
9. Supports multiple languages
10. Can be installed on both shared hosting and dedicated servers
Step 2: Setting Up BuddyPress on your WordPress website
Once you’ve decided which social network plugin you’d like to use, you’ll next need to configure it. To do so, follow these steps:
- log in to your WordPress dashboard. If you don’t already have a login account, click the “Login” link located in the upper right corner of the screen.
- Click the “Plugins” tab.
- Search for “BuddyPress”.
- Install the plugin.
- Activate the plugin.
- Go back to your Dashboard and log in again.
- Configure the settings as desired.
- Save changes.
- Log out of your WordPress admin area.
- Return to your browser window and refresh the page. You should now see the BuddyPress menu bar on the left side of the page.
- Click the “Users” icon.
- Click the “Add New User” button.
- Enter a username and password for your new user.
- Select the role you would like your new user to have.
- Confirm the details of your new user.
- Click the “Save Changes” button.
- Repeat Steps 14 through 17 until you have added all the members you require.
- Log out of your admin area once more.
- Refresh the page.
- Log in to your BuddyPress admin panel.
- Click the “Members” tab.
- Click the “Manage Users” link.
- Find the name of the user you just created.
- Click the “Edit Profile” link under their profile information.
- Edit the profile as desired.
- Once you’re done editing the profile, click the “Update Profile” button.
- Log out of your BuddyPress admin panel once more.
- Refresh the page. You should see the updated profile information displayed.
- Log in to your WordPress admin area. You can now add content to your site.
- Add pages, posts, images, videos, etc. as usual.
- When you’re finished adding content, go back to the BuddyPress menu bar.
Step 3: Choosing a theme for your BuddyPress WordPress website
Now that you’ve got your BuddyPress plugin configured, you’ll need to decide what kind of theme you’d like to use. There are many different types of themes available for BuddyPress. Some of them are free, while others come at a price. In this section, we’ll take a look at some of the most common themes that are available.
Reign Theme
This is one of the most popular BuddyPress themes available today. It’s easy to install, has an intuitive interface, and comes with lots of features. The Reign theme also supports multiple languages, making it ideal for international users. It is a complete white-level solution for creating a social networking website from scratch.

BuddyX Pro Theme
The BuddyX Pro theme is another great option if you want to create a professional-looking BuddyPress website. This theme is designed specifically for business owners who want to build a social media presence for their company or organization. It includes several widgets that make it easy to display content such as recent blog entries, events, news items, etc.
BuddyX Theme (free)
If you’re looking for something simple but still stylish, then the BuddyX theme might be perfect for you. This theme is completely free, so there’s no cost involved. However, it does not include any extra functionality beyond what is included by default with the BuddyPress plugin.
You can choose any three of these options and have a splendid social networking website ready in minutes!
Step 4: Install Social Network site add-ons
In addition to choosing a theme, you will also need to consider which additional features you’d like to add to your BuddyPress website. These features include things like Facebook Connect, Google Friend Connect, Twitter Feeds, RSS feeds, and much more. We’ll discuss each of these features in turn below. Or, you can get this amazing social networking website BuddyPress plugin bundle.
Facebook Connect
With Facebook Connect, you can easily allow people to log into your BuddyPress website using their Facebook account. Once they do so, they will automatically appear on your BuddyPress site as a member. They can post comments, upload photos, share links, and even join groups.
Google Friend Connect
If you would prefer to let visitors connect to your BuddyPress website through their Google accounts, then you can do so with Google Friend Connect. Just follow the instructions provided by Google to set up your site. Then, when someone visits your site, they will see a “Connect” button next to their name. Clicking this button will bring them directly to your BuddyPress login page.
Twitter Feeds
With Twitter Feeds, you can display tweets related to your BuddyPress site on your home page. To do this, simply enter the URL of your BuddyPress website in the box provided. You can also specify how often you’d like to update the feed. For example, you could say that you want new tweets to show every hour, or once per day.
RSS Feeds
If you’d like to keep track of all the activity happening on your BuddyPress site, then you should definitely check out RSS feeds. RSS stands for Really Simple Syndication, and it allows you to subscribe to websites and blogs so that you receive updates whenever new posts are published.
To use RSS feeds, just enter the URLs of the sites you’d like to monitor into the appropriate boxes. Then click Save Changes at the bottom of the screen.
Step 5: Market your social networking platform

Now that you’ve created your own social network, it’s time to start marketing it. There are many ways to market your social networking platform, including advertising on other websites, creating an e-book about your social network, and writing articles for online publications.
Advertising on Other Websites
One way to promote your social networking platform is to advertise it on other websites. If you already have a website, you can create a banner ad that links back to your BuddyPress website, and place it on other websites where your target audience may visit.
Creating an E-Book About Your Social Networking Platform
Another great way to promote your social network is to write an e-book about it. An e-book is basically a collection of text files that contain information. It’s similar to a book but has no pages. Instead, it contains chapters that link to other parts of the e-book.
You can make money from selling e-books if you’re willing to invest some time and effort into creating one. However, there are several different types of e-books that you can sell. Some are free, while others require payment. The type of e-book you choose depends on what kind of content you want to include.
Writing Articles for Online Publications
You can also write articles for online publications. This is another effective way to promote your social media platform because it gives you the opportunity to reach more readers than you might be able to reach otherwise.
The key here is to find publications that are relevant to your niche. For example, if you run a business blog, you probably won’t be interested in writing articles for magazines that cover topics such as fashion or cooking. On the other hand, if you’re running a fitness blog, you’ll likely be interested in writing for health magazines.
Once you’ve found a publication that interests you, contact its editor and ask whether he or she wants to publish an article about your social networking platform. Be sure to mention that you wrote it, though. That will give you credibility with editors who don’t know you personally.
Step 6: Keep on updating your social networking website
As mentioned earlier, you need to update your social networking website frequently. You can do this by adding new features to your BuddyPress website. Or you can simply add new content to your existing BuddyPress website. Either way, you should always try to provide value to your users.
If you decide to add new features to your BuddyPress website, you can either hire someone else to do it for you. Keeping your site maintenance in check will grant you customer retention!
Wrapping Up Words
In conclusion, if you have a website but aren’t using it to its full potential, you’re missing out on a lot of opportunities. Whether you’re looking to build a community around your blog or sell products online, social networking sites are the perfect platforms for doing both. And since many of us spend most of our days glued to our smartphones anyway, why not use that time to promote your site instead?
Interesting Reads:
Top 5 Contact Form Plugin For Your WordPress Website
WordPress Stories Plugin: The Easiest Way to Engage your community members